Cheqdin gives you the flexibility to upload children's information with the click of a button using our 'bulk upload' option in the children's register.
If you already have your administrative information stored in the form of spreadsheets or documents, all you need to do is copy and paste that information into our specified CSV template.
Here is how you can do the bulk upload:
Please read the entire help article and also see the tips section before you begin the process.
Step 1: Download the template
Go to 'Centre Settings' > 'Children's Register'
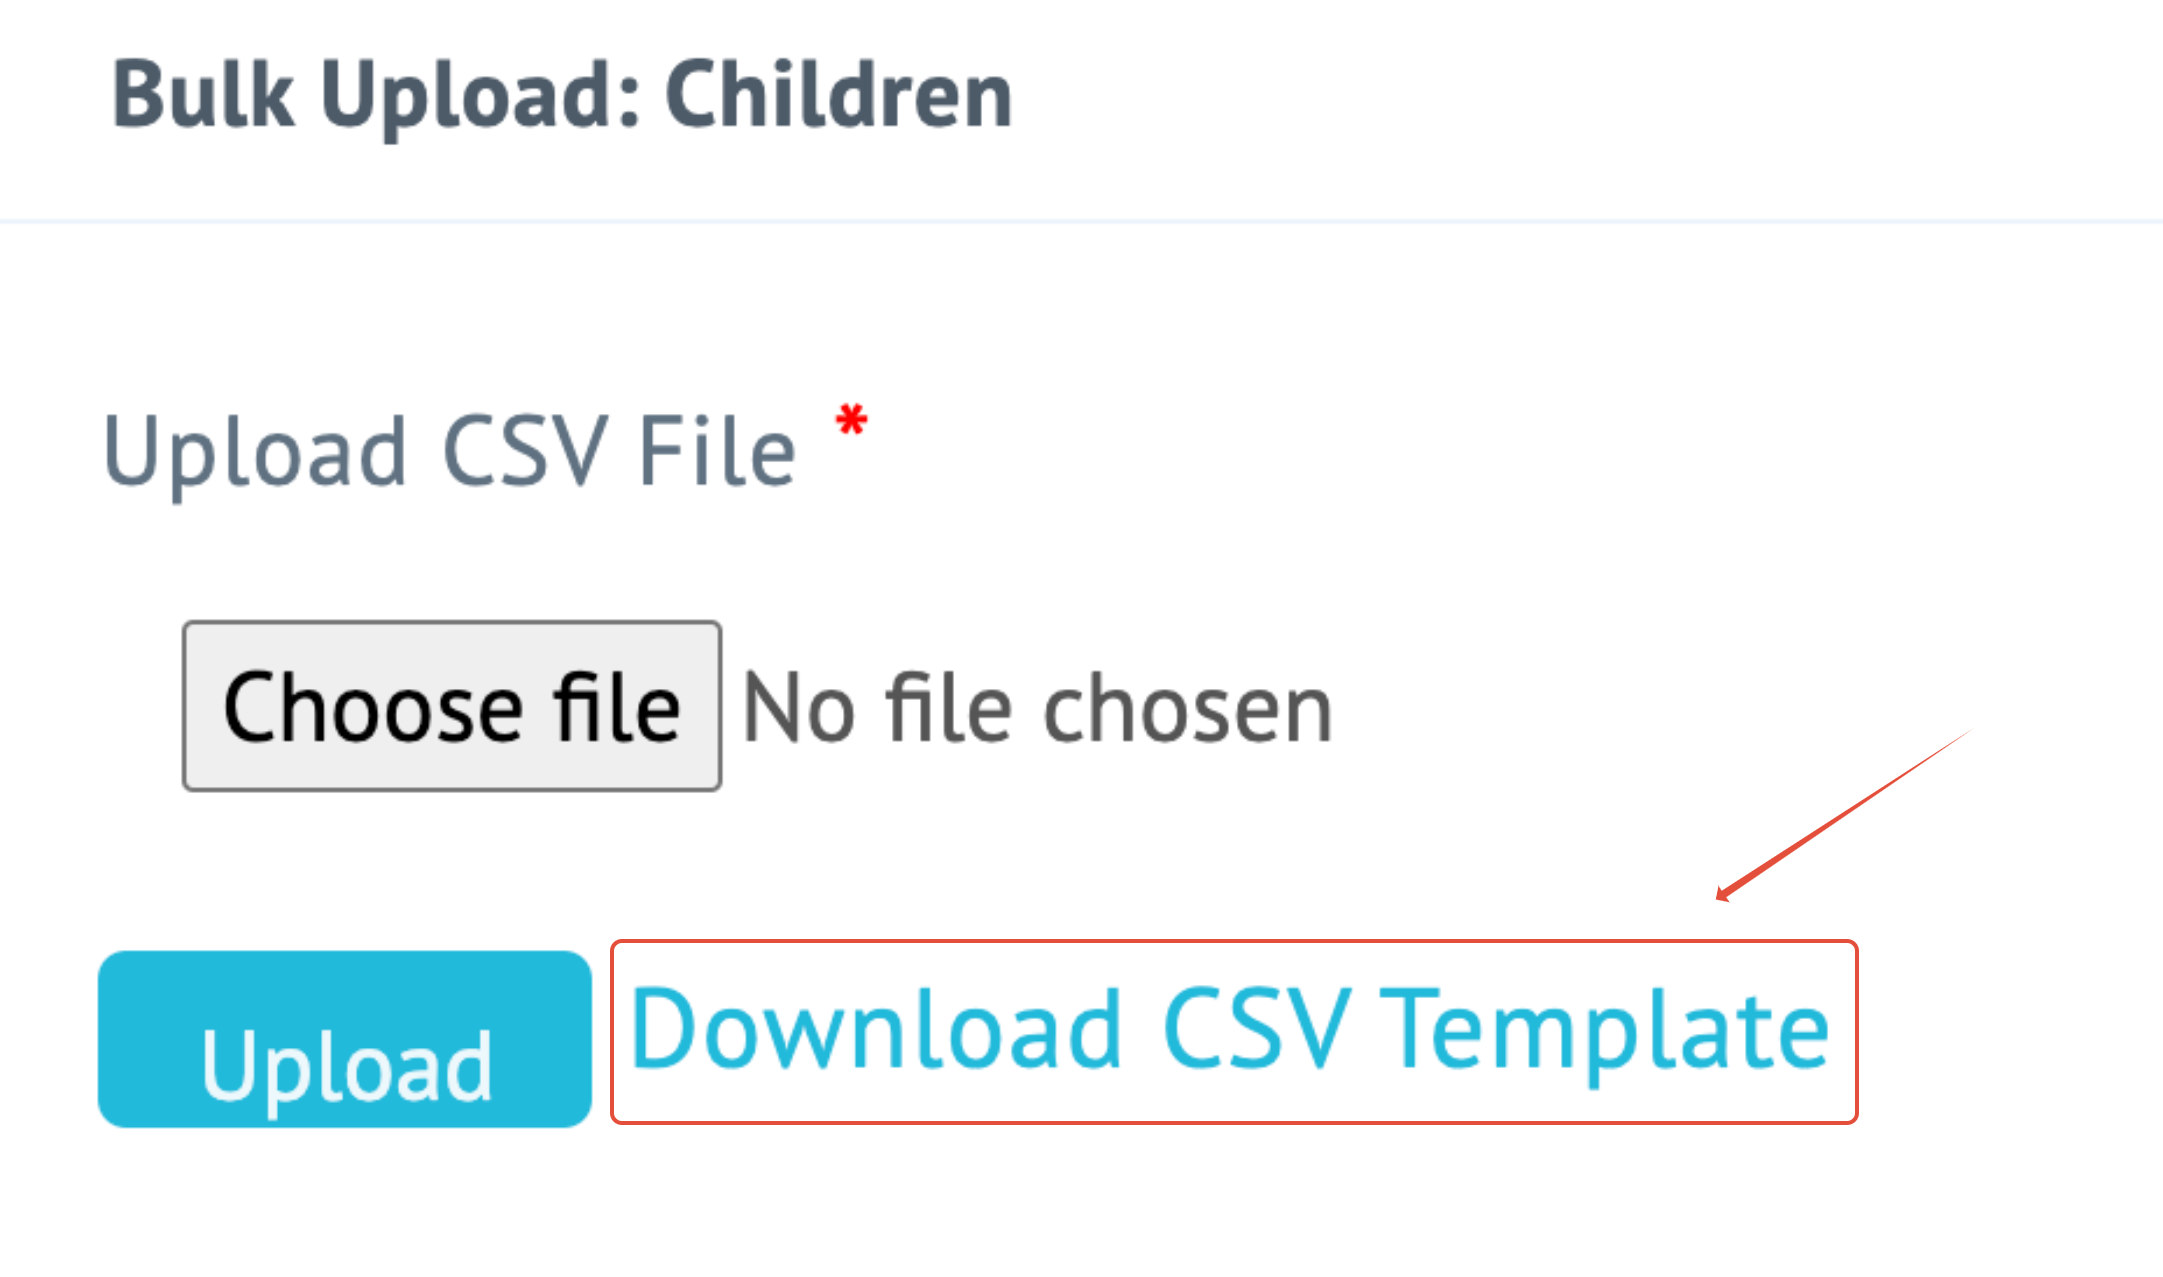
On the far right side of the screen, click on 'Bulk Upload: Children'
Download the CSV template.

Step 2: Transfer or copy data into the template
Transfer (copy/paste) your information into the template provided.
Before you proceed to Step 3, you will need to ensure that the data is copied into the template as per the specified parameters. To explain this as clearly as possible, we have provided an example below: (click on image to enlarge)

Use Case A: Updating data for parents with multiple children attending the setting (siblings)
The details highlighted in rows 1,2 and 3 (Peppa Pig family) show the details of children from the same family. In this example, you will notice that the 'Sibling' column in the sheet is updated with the digit '1' for all three children. This tells the system the child has siblings attending the childcare centre and they are all part of the same family.
The reason behind this is - associating the number of siblings with a parent's account will let the parents use a single PIN number for the check-in/out process of the children instead of using multiple PINs.
Use Case B: Updating the data of children with no siblings
When updating the data of a child with no siblings, just leave the 'Sibling' field blank. For example, Row 6 and 7 for Suzzy Sheep and Candy Cat. And, don't forget to fill in the details for all the other mandatory fields (marked with an Asterix * symbol.)
Step 3: Upload the file
Click on 'Choose File' to select the file from the location that you had previously saved.
Click on 'Upload' to complete your transfer.
Step 4: Complete the registration process
Head back to the 'Children's Register' section, and you will be able to see the newly uploaded data.
If you need to change any details that have been uploaded, navigate to the far right side of the screen and click on the amber coloured 'Edit' button and modify the records as required.

Important tips you need to know (Please read):
- Date format to be in DD/MM/YYYY. For example, 15th August 2021 should be 15/08/2021.
- Use the CSV template provided to fill in the information. The format of the CSV file should not be altered or changed in any way. Any formatting of the file will result in an error, or incorrect data will be uploaded.
- Gender values to be inputted as 'Male' or 'Female'. Do not insert as M or F.
- Allergen severity values to be used are - 'Very High', 'High', 'Medium', 'Low'. If not applicable, leave the field empty.
- Sibling values are to be updated with the digit '1' for all children from the same family, else leave the field empty.
- Parent1 all fields are mandatory.
- Parent2 details are optional, however, if any field relating to Parent2 is updated, then the rest of the information for parent2 must be updated as well. For example, if the Parent2 Name field is entered, then the rest of the information for Parent2 must also be completed.
- All fields marked with an Asterix '*' are mandatory and must not be left blank.
- In the classroom name field, enter the room name which you have defined in the manage Room section. If you have not yet named the room in the manage room section, please fill in that information first before uploading the data to the sheet.
- Once data is bulk uploaded into the system, there is no way of bulk deleting the data. In such cases, you can only manually delete records one by one. Hence, before upload ensure that the data is correct and we recommend double-checking all fields.
Was this article helpful?
That’s Great!
Thank you for your feedback
Sorry! We couldn't be helpful
Thank you for your feedback
Feedback sent
We appreciate your effort and will try to fix the article